I have to admit that while being away from the FPV drone hobby past few years I have completely missed out the entire ExpressLRS (ELRS) movement. From what I’ve been able to gather and understand so far since my comeback, it seems like an amazing community-driven open-source project with all of the code on GitHub and allows vendors to use that protocol when building their receiver and transmitter hardware. And there seem to be a lot of ELRS radios on the market, as well as receivers and AIO boards with built-in SPI receivers.
I am really, really simplifying and keeping it short here, but it seems that the thriving ecosystem has led to some really nice hardware that people are very happy with, it delivers really good range and link quality.
Because I’ve had my Taranis X-Lite radio for a while and I still like it, I decided to look for a module that fits it and use that to dip my toes into the ExpressLRS world.
So here is the Jumper AION ELRS nano module I went for:
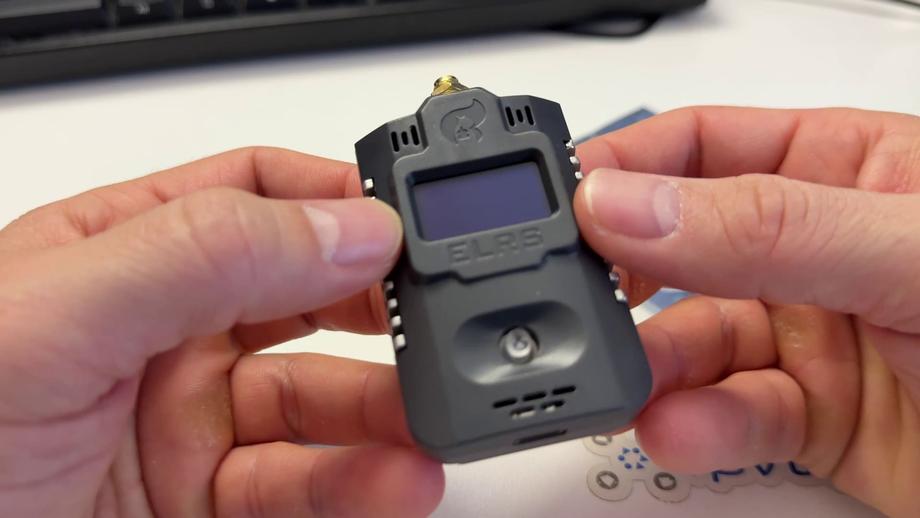
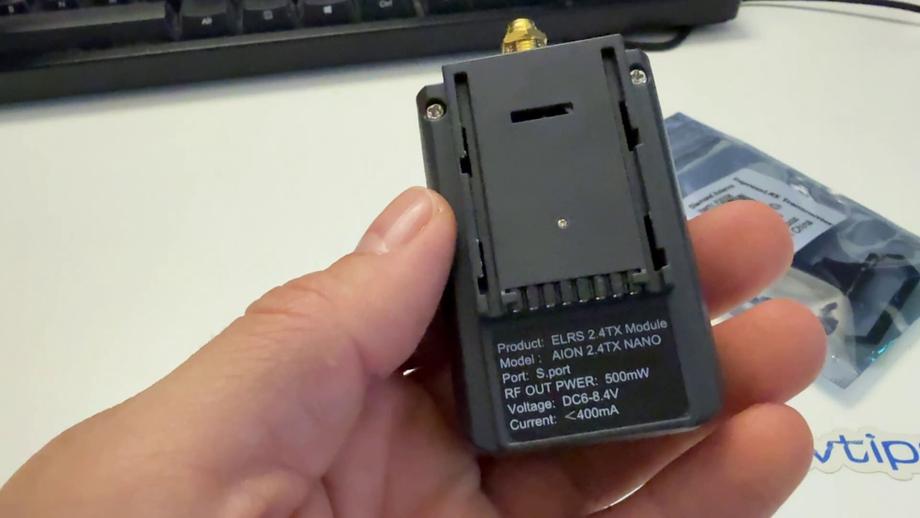
Fits nicely into the Taranis X-Lite nano slot:
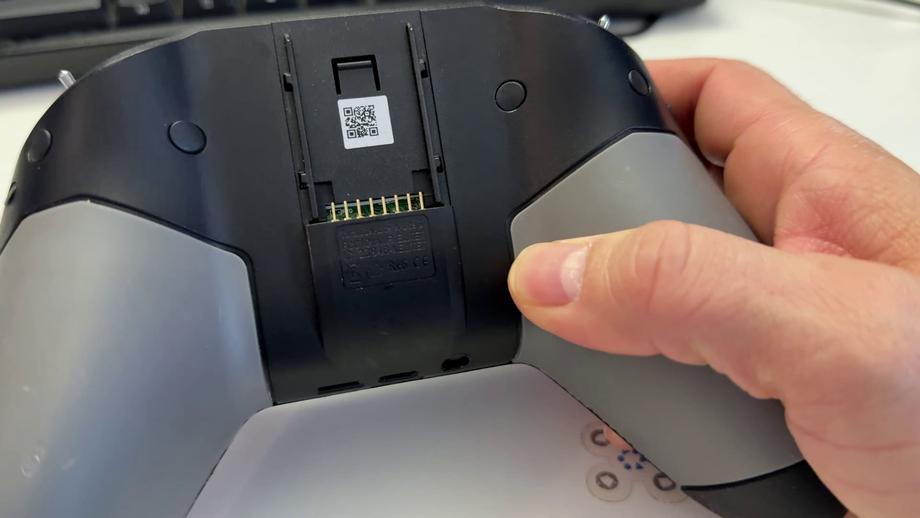
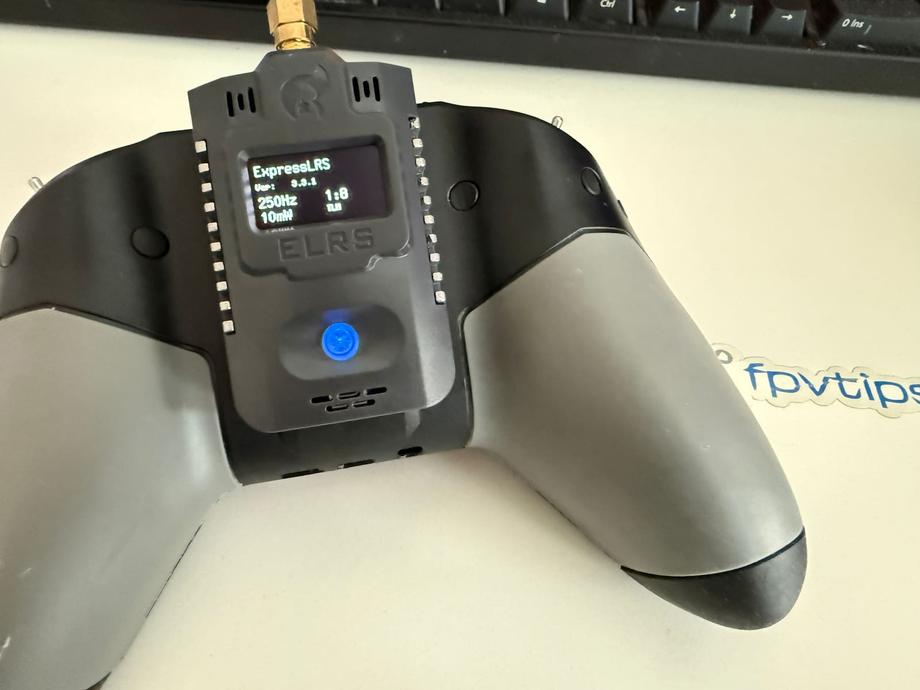
In terms of setup, there’s not a lot to do really. Once you have plugged in the module, we need to do basically two things:
- Flash the firmware to both update it and to set the binding phrase we will use to bind our quads
- Copy the ELRS script on the Taranis X-Lite SD card
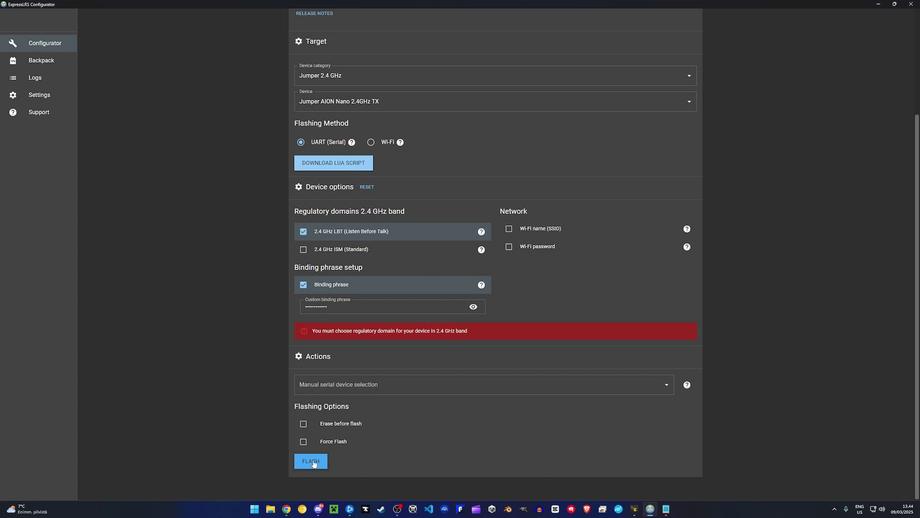
To begin with flashing the firmware first download the ExpressLRS Configurator for your operating system. When you run it, you wanna select the correct device category, device, and regulatory domain and of course, set your custom binding phrase. With all of those set, hit the flash button.
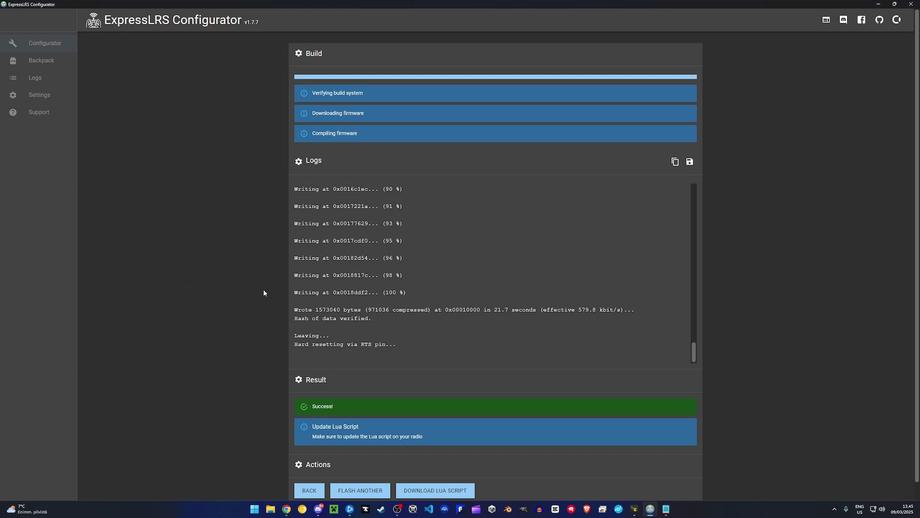
If all goes well you should see a screen like this where you can also download the Lua script we’re gonna copy to the radio.
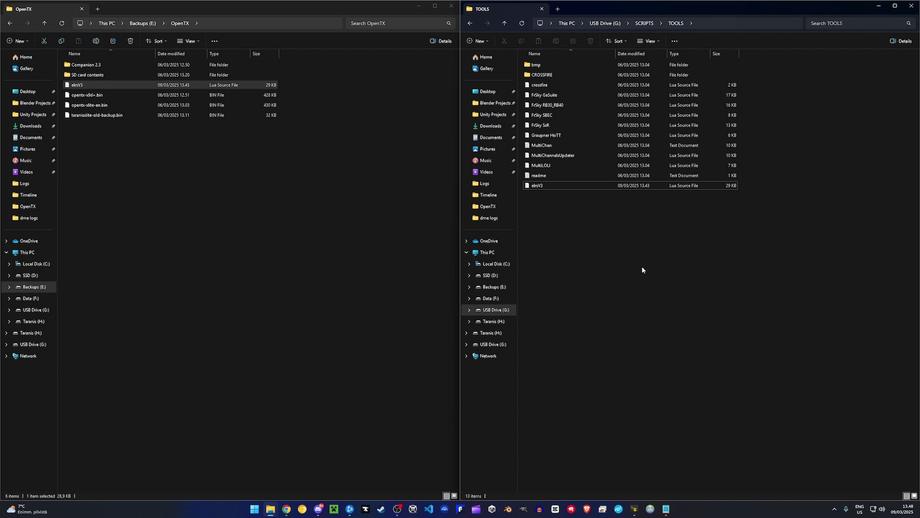
You will need to disconnect the connection to the ELRS module and instead plug in your radio (Taranis X-Lite) to mount the SD card. You need to copy the elrsV3 lua file to the SCRIPTS\TOOLS location on the radio, as you can see below:
Now let’s boot up the radio and create a new model.
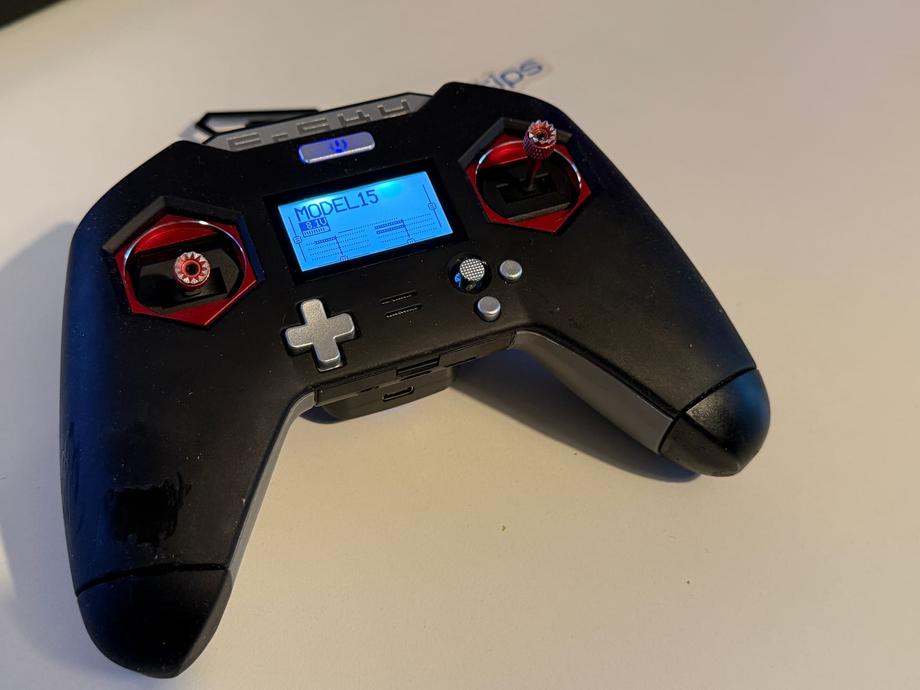
You can use this model for basically all of your ELRS drones if you so wish. Let’s jump into the Setup view. Here we will turn off the Internal RF and we will set the External RF to CRSF.
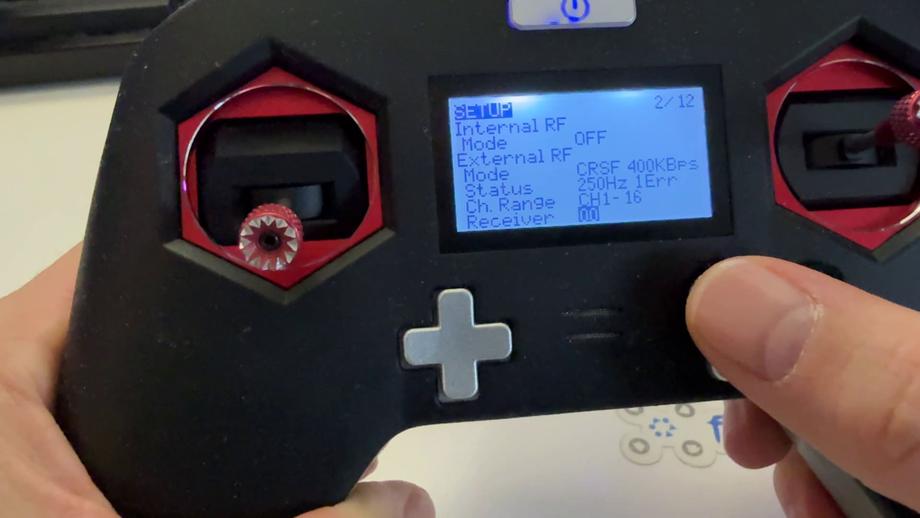
And for the most part, we are kind of done.
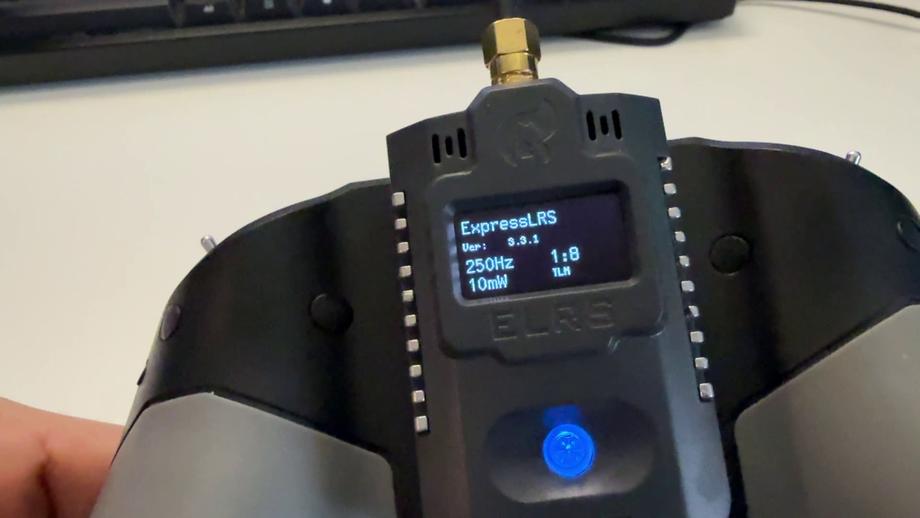
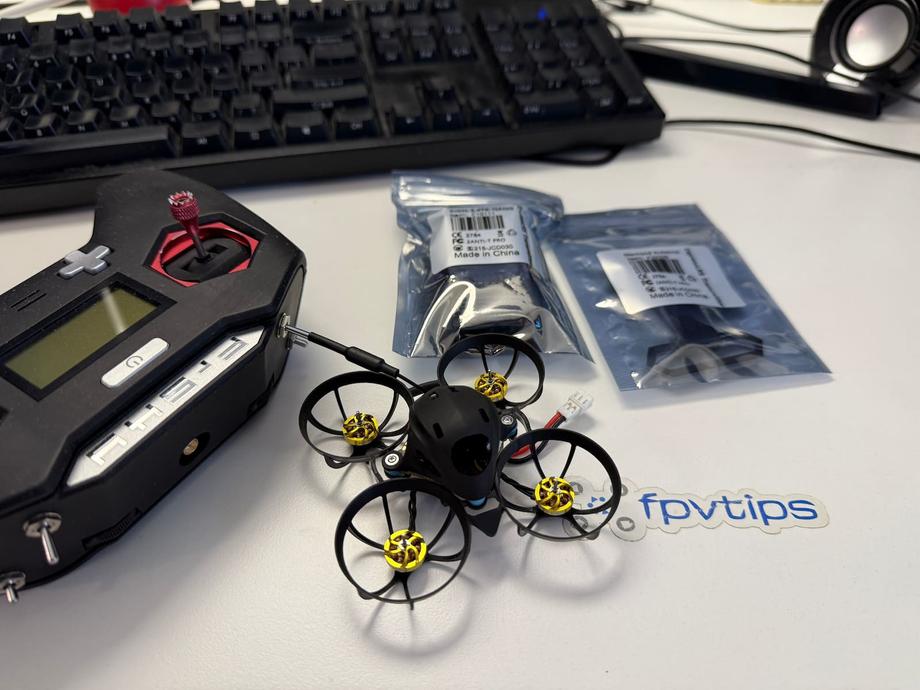
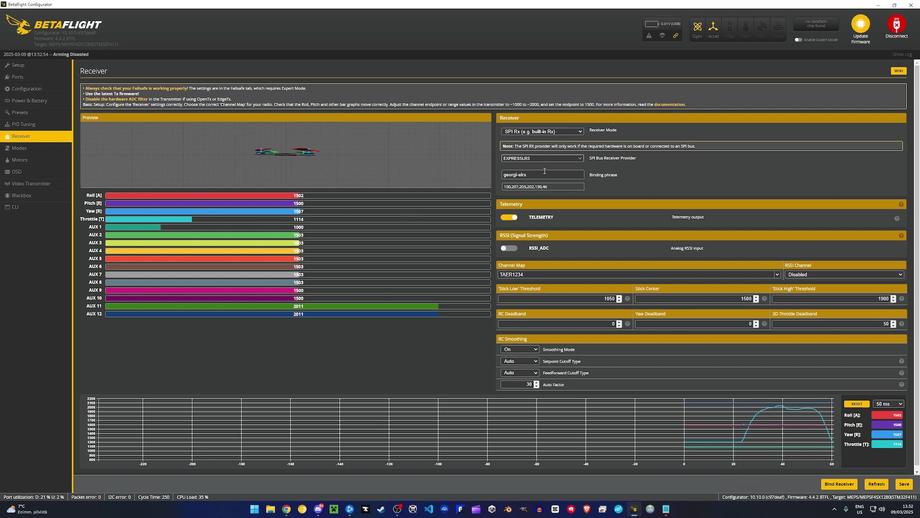
To bind to a drone, plug it in and open Betaflight. In the Receiver tab put in your binding phrase in the field for it.
Remember the elrsV3 lua script we copied earlier? In your radio’s Tools menu you should have an entry for ExpressLRS if you scroll it down a bit.
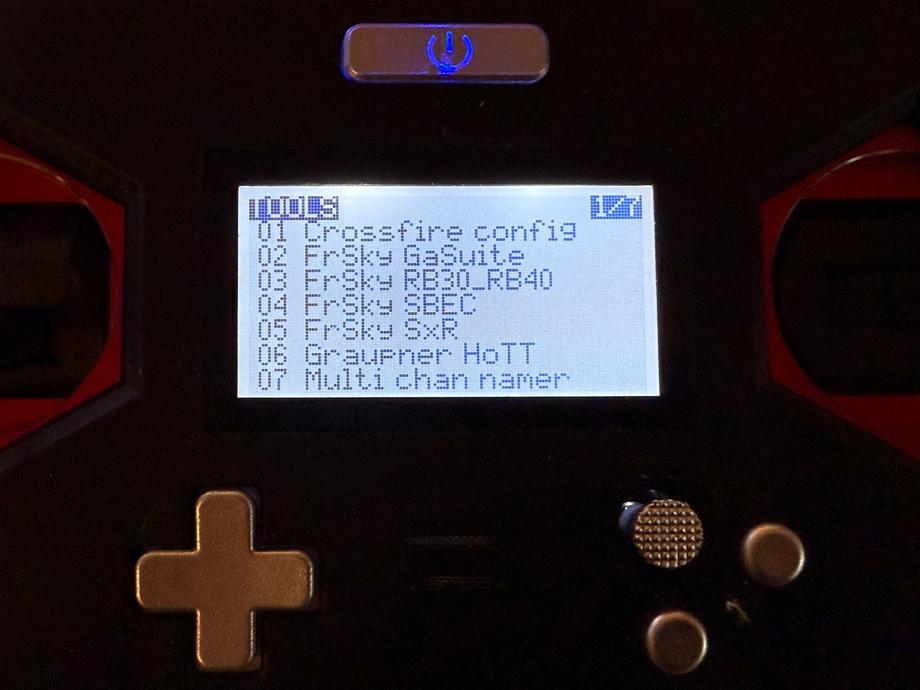
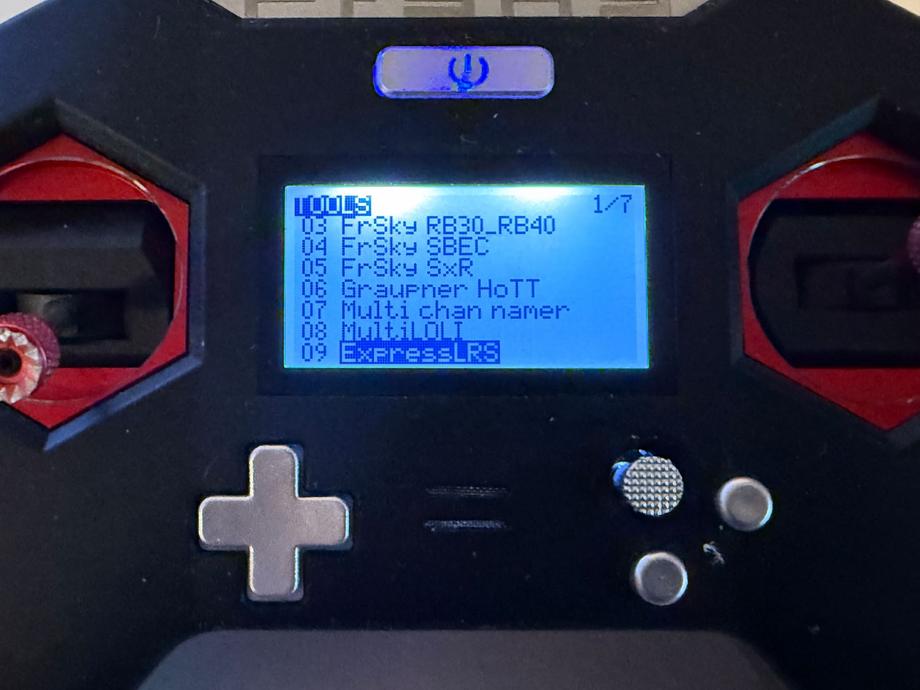
Apart from allowing us to set the output power of the module and other useful settings, this also provides another super useful option I’d like to show you - BLE Joystick.
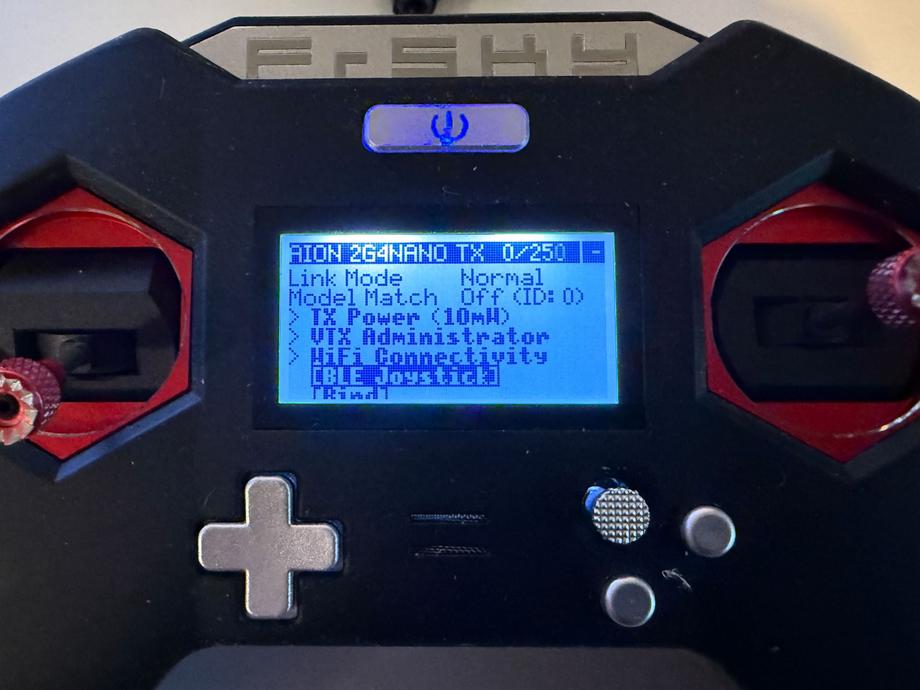
And it’s exactly what it sounds like. Say you wanna use your radio with a simulator on your PC, for example, but you don’t wanna use a cable, yes, just do it over Bluetooth. Very handy and super easy!
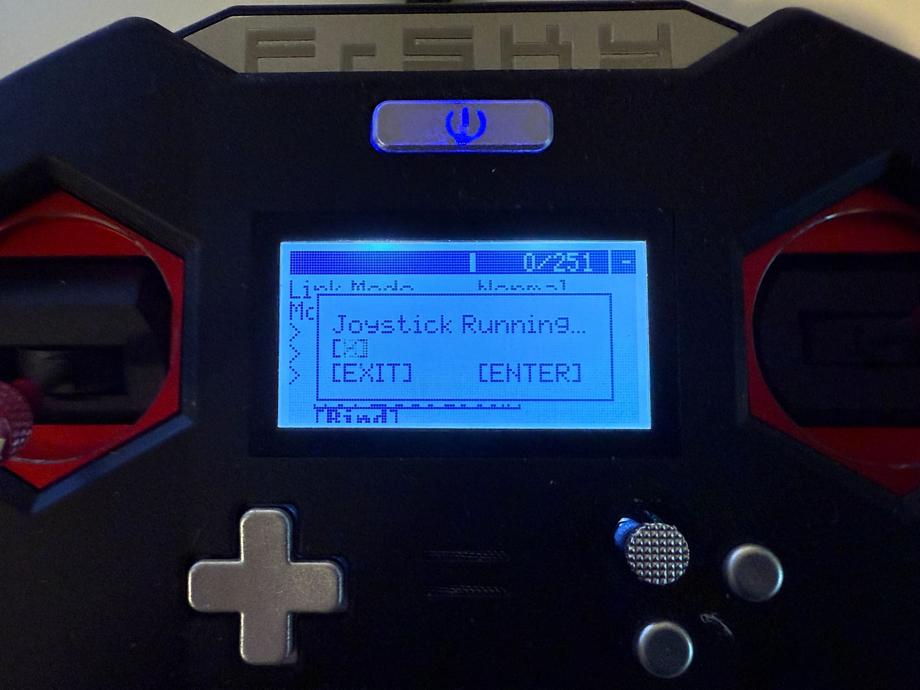
Once the module is in Bluetooth joystick mode you should see it on the radio’s screen and on the module’s screen too.
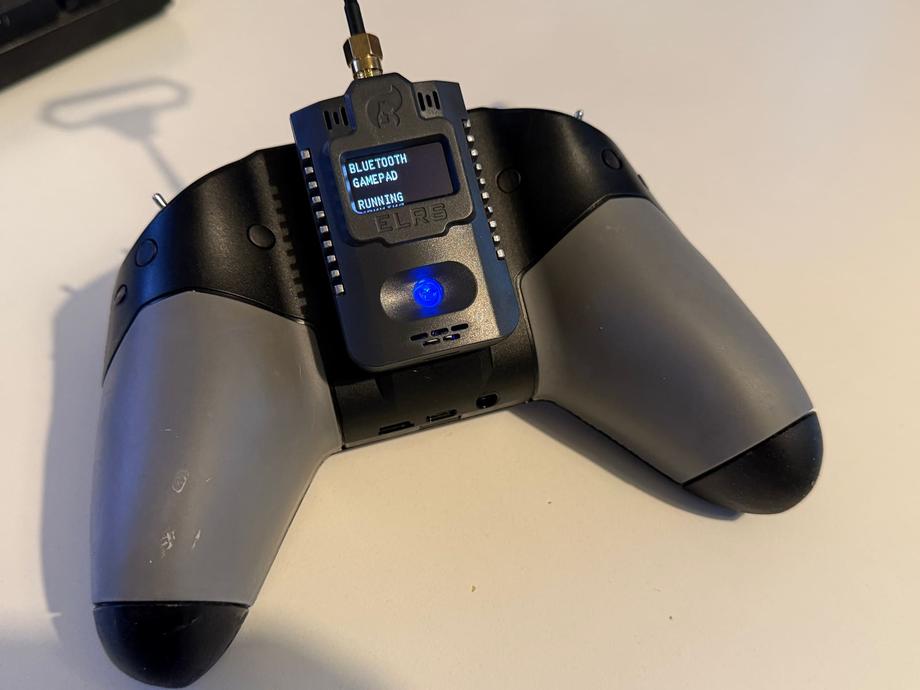
All that is left is to connect to your PC via Bluetooth:
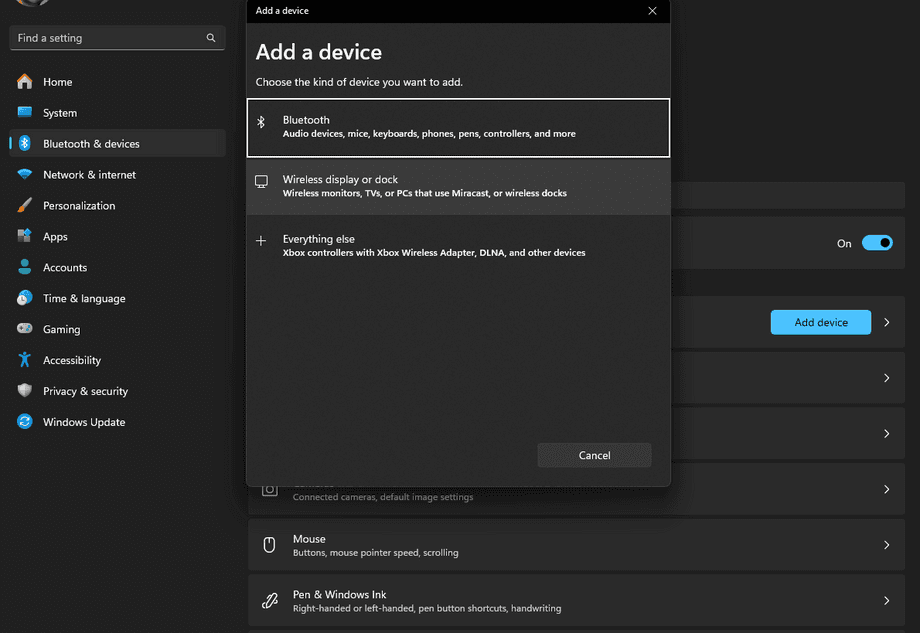
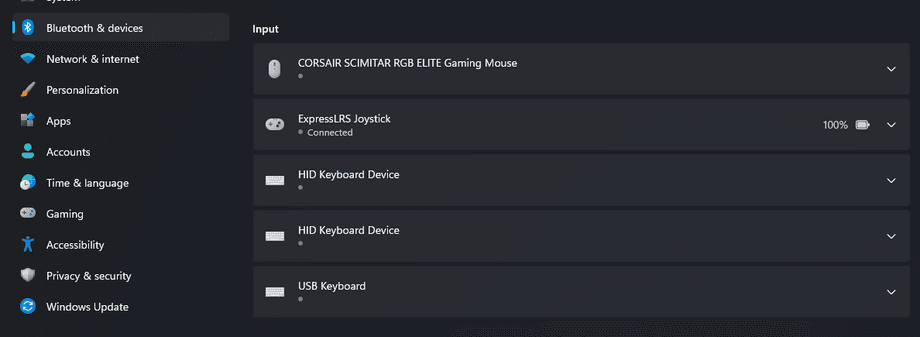
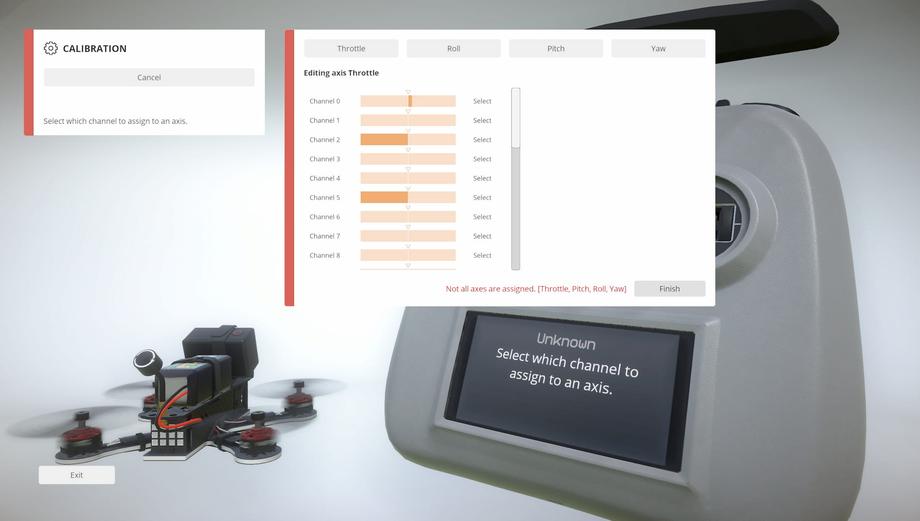
And get into Liftoff, setup the controller and play the game.
All in all from what I’ve seen from this module so far and what I’ve used it for, which is still not a whole lot, but still, I’m pretty happy. Works as expected and doesn’t break the bank at its pretty affordable price point. I’m a fan.
Here’s a link if you decide to grab the Jumper AION ELRS nano module.
Happy flying!


